Page 1 of --

The Insider's Guide to Growing, Selling, and Scaling Your Microgreen Operation
Free Guide, Valued at $12.99
Grown Like A Pro (GLAP) is a microgreen management platform built by growers, for growers. This guide is our way of giving back to the community that taught us everything we know.
Download GLAP free at: iOS App Store | Google Play | Web App

We've all been there. This guide fixes that.
Most people who try microgreens quit within 60 days.
Not because it's hard. Not because they lack motivation. They quit because nobody told them what actually matters. They watched a YouTube video, planted a tray, got fuzzy white stuff on it, panicked, threw it out, and decided microgreens "weren't for them."
We've been growing microgreens for nearly a decade. We've thrown out hundreds of trays. We've sold to restaurants that ghosted us after one delivery and farmers market customers who became weekly regulars. We've scaled from a single shelf in a spare bedroom to operations that move hundreds of trays a month.
Here's what we learned: microgreens are one of the simplest, most profitable crops you can grow. But simple doesn't mean easy.
The difference between the person who quits in two months and the person who builds a real business comes down to a handful of fundamentals that most guides skip over because they're too busy showing you pretty time-lapses.
This guide gives you those fundamentals. No fluff. No filler. Just the things that actually move the needle, from your first tray to your first paying customer.
What this guide covers: How to grow your first tray, the mistakes that kill most beginners, the varieties that actually sell, and how to turn this into income.
What the GLAP app goes deeper on: Variety-specific growing data for 50+ microgreens, AI-powered tray diagnostics, environmental monitoring, automated watering schedules, client management, invoicing, harvest forecasting, and everything else you need when one tray becomes a hundred.
Think of this guide as the foundation. The GLAP app is the system.
Let's get into it.
Premium product, premium prices
There's a reason microgreens keep showing up in articles about "most profitable crops." The math is hard to argue with.
A single shelf rack in a spare room can generate $500 to $2,000+ per month. Startup costs are laughably low compared to almost any other business. You don't need land, heavy equipment, or years of agricultural training. You need a shelf, some trays, seeds, soil, a light, and about 10 square feet of space.
The margins? If you're selling direct to consumers (farmers markets, local delivery, subscriptions), you're looking at 60-80% gross margins on most varieties. A single tray of radish microgreens costs roughly $7 to produce and sells for $25-30 at retail.
But here's the part most people miss: the demand is already there and growing. Restaurants want local, fresh garnishes. Health-conscious consumers will pay premium prices for nutrient-dense food.
This is your secret weapon when selling. Broccoli microgreens contain up to 10-100 times more sulforaphane, a potent cancer-fighting compound, than mature broccoli. Radish microgreens pack up to 40 times more nutrients than full-grown radishes. A 100-gram serving of sunflower microgreens delivers 176% of the recommended daily intake of Vitamin C.
These aren't vague health claims. This is peer-reviewed research from institutions like the University of Maryland. When someone at a farmers market asks "what's the big deal?", you have a real answer.
Restaurants: Fine dining, farm-to-table, Asian, Mexican, Italian -- any chef who plates food with care needs microgreens. They buy weekly, consistently, and they tell other chefs.
Farmers market shoppers: The person who buys organic kale, artisan bread, and local honey. Already primed to pay premium prices for fresh, local food.
Health-conscious consumers: The smoothie crowd, the juice bar regulars. Broccoli microgreens are their dream product.
Subscription customers: Once someone tastes fresh microgreens, they don't want to go back. Weekly delivery subscriptions are the most predictable revenue you'll ever have.
You'll lose trays to mold. You'll misjudge your harvest timing. You'll show up at a farmers market and sell three clamshells when you expected to sell thirty. All of that is normal. The growers who make it are the ones who treat each failure as data, adjust, and keep planting.
Your first grow starts today
Stop reading guides and start growing. Seriously. The fastest way to learn microgreens is to plant one tray, watch it grow, and harvest it. Everything after that is refinement.
We recommend starting with radish microgreens: they're the fastest, most forgiving variety you can grow. Seed to harvest in 6-10 days. Hard to kill. Satisfying results.
This is your complete starter kit. Total cost: under $30.
Day 0 -- Planting Day
Days 1-3 -- The Blackout Phase
Your seeds are germinating in the dark. Lift the cover once a day to check moisture. If the surface feels dry, give it a light mist. Otherwise, leave it alone.
By day 2-3, you'll see pale shoots pushing up against the weight. The weight forces them to develop strong, sturdy stems instead of thin, spindly ones.
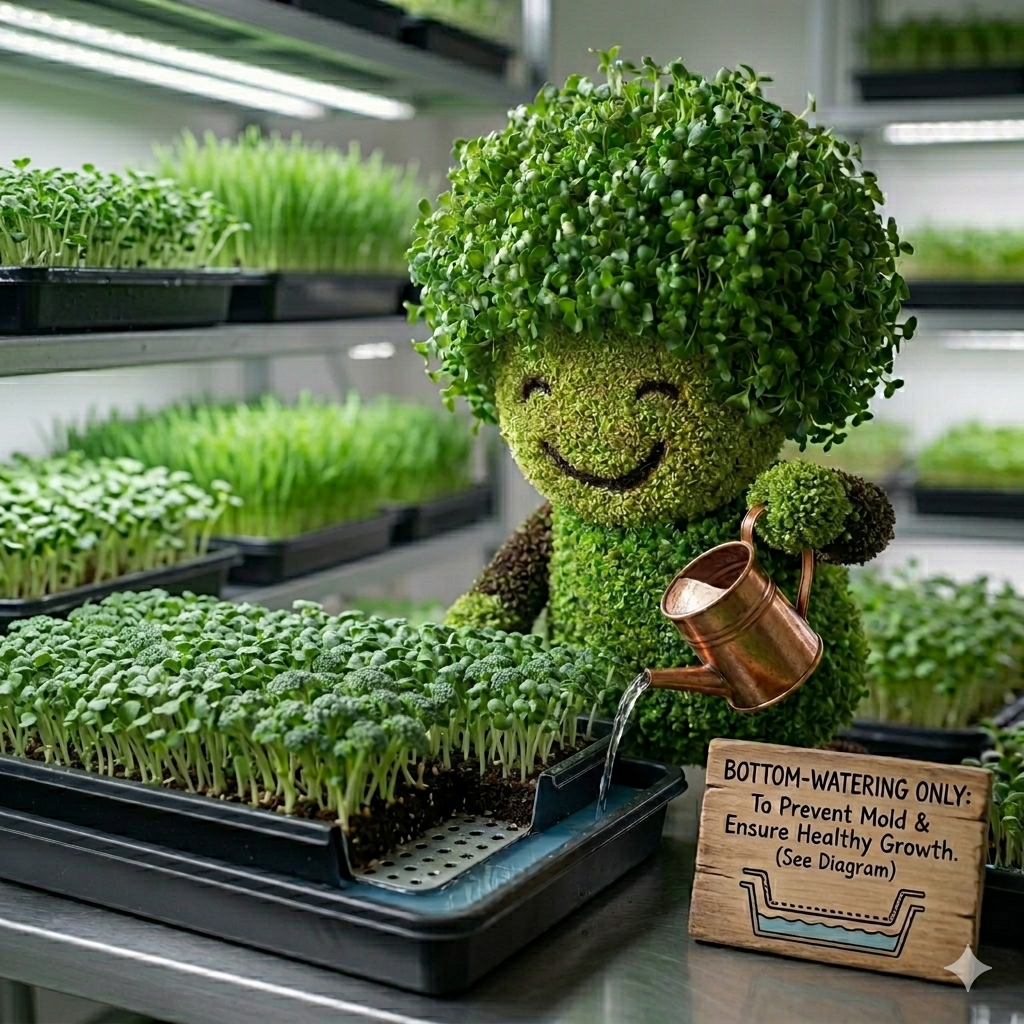
Bottom watering prevents mold
Days 3-5 -- Transition
By day 3-4, your radish shoots should be 1.5-2.5 inches tall with pale yellow leaves starting to unfurl. Remove the cover. Move the tray under your light source (12-16 hours/day).
Within 12-24 hours of light exposure, those yellow shoots will turn vibrant green.
Important: Switch to bottom watering. Pour water into the solid bottom tray, about 1 cm deep, let the growing medium soak it up for 5 minutes. Then drain excess. Do this once daily.
Your radish microgreens are ready when: the cotyledon leaves are fully open, stems are 2-3 inches tall, and you can see the first true leaves starting to emerge.
Grab sharp scissors or a clean knife. Cut just above the soil line. Taste one. That peppery bite? That's what chefs pay good money for.
From one standard 10x20 tray of radish, you should get 10-14 ounces of microgreens. At retail prices, that's $25-35 worth of product from seeds that cost about 40 cents.
If your first tray doesn't look perfect, that's completely fine. You now have more hands-on experience than 95% of people who "want to try microgreens someday." Plant your second tray immediately.
We've seen these five mistakes end more microgreen journeys than anything else. Every single one is preventable once you know what to look for.
This is the big one. The number one cause of mold, damping off, root rot, yellowing, and mushy stems in microgreens is too much water.
There is no fixed watering schedule that works for everyone. The right amount depends on your growing medium, temperature, humidity, airflow, and variety.
The golden rule: Water when the tray needs it, not on a calendar.
How do you know? The lift test. Pick up the tray. A well-watered tray feels noticeably heavier. When the tray feels light, water it. When it still feels heavy, leave it alone.
Warning signs you're overwatering:
The fix: Stop watering until the medium feels lighter. Switch to bottom watering. Add a small fan for airflow.
The sweet spot for most varieties is 65-75 F. Above 80 F, mold risk increases significantly, growth becomes leggy, and your harvest window compresses dramatically.
If your grow space gets warm, cool the space down or shift your light cycle to run overnight when ambient temps are lower.
This is the most important section of this entire guide.
About 85% of the time, that white fuzz on your microgreens is not mold. It's root hairs. Beneficial, healthy, normal root hairs.
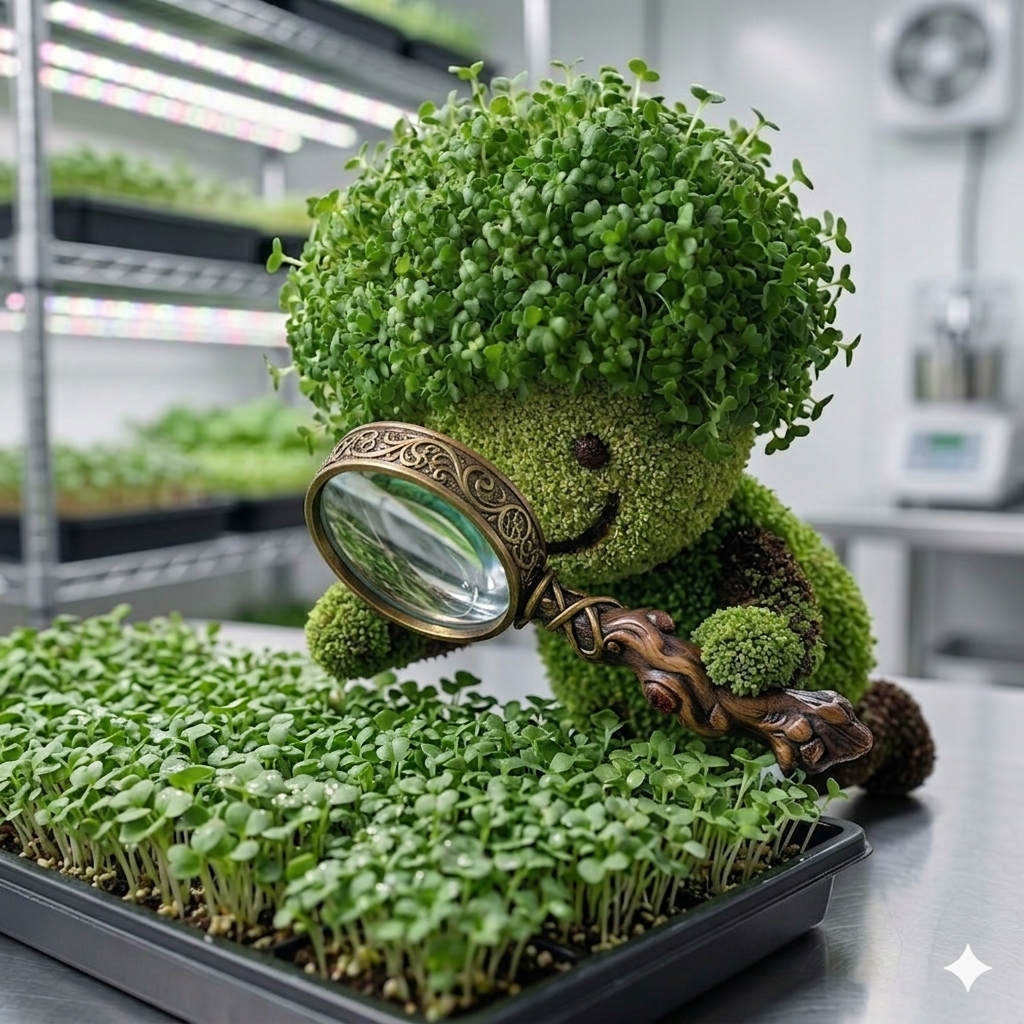
Glappy helps you tell the difference instantly
Root Hairs (Normal, Don't Touch Them)
Mold (Problem, Address It)
If you see white fuzz and you're not sure: mist the fuzzy area with water.
That's it. One spray and you know. Root hairs are especially common on radish, broccoli, kale, sunflower, and most brassica varieties. Don't throw out healthy trays.
Every variety has a different ideal density. Tiny broccoli seeds need a completely different amount per tray than large sunflower seeds or chunky pea seeds.
The general principle: It's better to plant slightly too thin than too thick. Overcrowding causes more problems (mold, damping off, uneven growth) than under-planting.
Microgreens have a flavor peak -- a window of 2-3 days where the taste, texture, and nutrition are at their best.
Harvest too early: underdeveloped flavor and low yield. Harvest too late: woody stems, bitter flavor, yellowing leaves, and shorter shelf life.
For most varieties, the sweet spot is when the cotyledon leaves are fully open and the first true leaves are just starting to emerge.
Not all microgreens are created equal from a business perspective. Some are easier to grow, some taste better, some have better margins, and some are what customers actually ask for.
After years of selling, these are the five we'd start with if we were building from scratch:
Each variety has its own personality, its own ideal customer, and its own selling points. Let's break them down.

The top 5 varieties that actually sell
Sunflowers are the crowd favorite
The crowd favorite. Sunflower microgreens have a nutty, toasty flavor with a slightly sweet finish and a satisfying crunch. They taste like fresh sunflower seeds but better -- greener, brighter, more interesting.
They're the variety that converts skeptics. When someone at a farmers market says "I don't really know what microgreens are," hand them a sunflower shoot. You just made a customer.
Sunflower microgreens are also a nutritional standout: a complete protein with all essential amino acids, rich in vitamins A, B complex, C, E, and K, plus calcium, iron, magnesium, and zinc. They're ready in 8-14 days and produce one of the heaviest yields per tray.
Best uses: Sandwiches, salads, smoothies, stir-fries, eggs, grain bowls. They can straight-up replace lettuce.

Pea shoots make every grower smile
The chef's darling. Sweet, delicate, slightly nutty, with tender stems and those beautiful curling tendrils at the tips. Pea shoots taste like fresh garden peas straight from the pod, and they're sweet enough to eat as a snack on their own.
Restaurants love pea shoots because they're visually stunning on a plate, they pair with almost anything, and they have the longest shelf life of the common microgreens -- up to 2-3 weeks refrigerated. That last point matters a lot when you're selling to busy kitchens.
Pea shoots also contain about 20% protein, making them a standout for plant-based diets.
Best uses: Salads, sandwiches, stir-fries (add at the very end), spring rolls, pasta, soups, eggs, or just eating raw.
The speed demon. Radish microgreens deliver that distinctive peppery kick in a tender, crunchy package. Different varieties offer different heat levels -- some are mild, some will wake you up.
The real advantage of radish is speed: 6-10 days from seed to harvest, making it the fastest microgreen you can grow. That speed means faster cash flow, more learning cycles, and the ability to recover quickly from mistakes. When a restaurant needs microgreens by Friday and it's Monday, radish is your answer.
They're also nutrient-dense -- up to 40 times more nutrients than mature radishes, rich in vitamin C, and packed with cancer-fighting glucosinolates.
Best uses: Garnish for entrees and soups, tacos and burritos (replaces hot sauce), sushi and poke bowls, sandwiches, salads, eggs, Asian dishes, juicing.

The superfood that sells itself
The superfood angle. This is the variety you sell to the health-conscious buyer. Broccoli microgreens contain up to 10-100 times more sulforaphane than mature broccoli, and sulforaphane is one of the most studied cancer-fighting compounds in nutrition science.
The flavor is mild, slightly peppery with nutty undertones, approachable enough that even people who hate broccoli enjoy the microgreens. They blend easily into smoothies, salads, and sandwiches without overpowering other flavors.
For selling, the pitch writes itself: "This two-ounce container has more cancer-fighting sulforaphane than a head of broccoli." That stops people in their tracks.
Best uses: Raw consumption (cooking destroys the key enzyme), salads, smoothies, sandwiches, juice, grain bowls, or blended into a "sulforaphane shot" with lemon juice and a pinch of mustard powder.
Convenience sells. A curated blend of 3-4 complementary varieties in one container is often the easiest sell at a farmers market. Customers don't have to choose, and they get a range of flavors, textures, and colors in one package.
A classic mix: radish (for heat), sunflower (for crunch), broccoli (for nutrition), and a visual pop like beet or amaranth. Label it something appealing like "Chef's Blend" or "Garden Mix" and price it at a slight premium over single varieties.
Mixes also let you use up smaller harvests that wouldn't fill a clamshell on their own. Less waste, more revenue.
Growing microgreens is the fun part. Selling them is where the money is. And selling them doesn't require a business degree. It requires showing up, being consistent, and understanding what your buyer actually cares about.

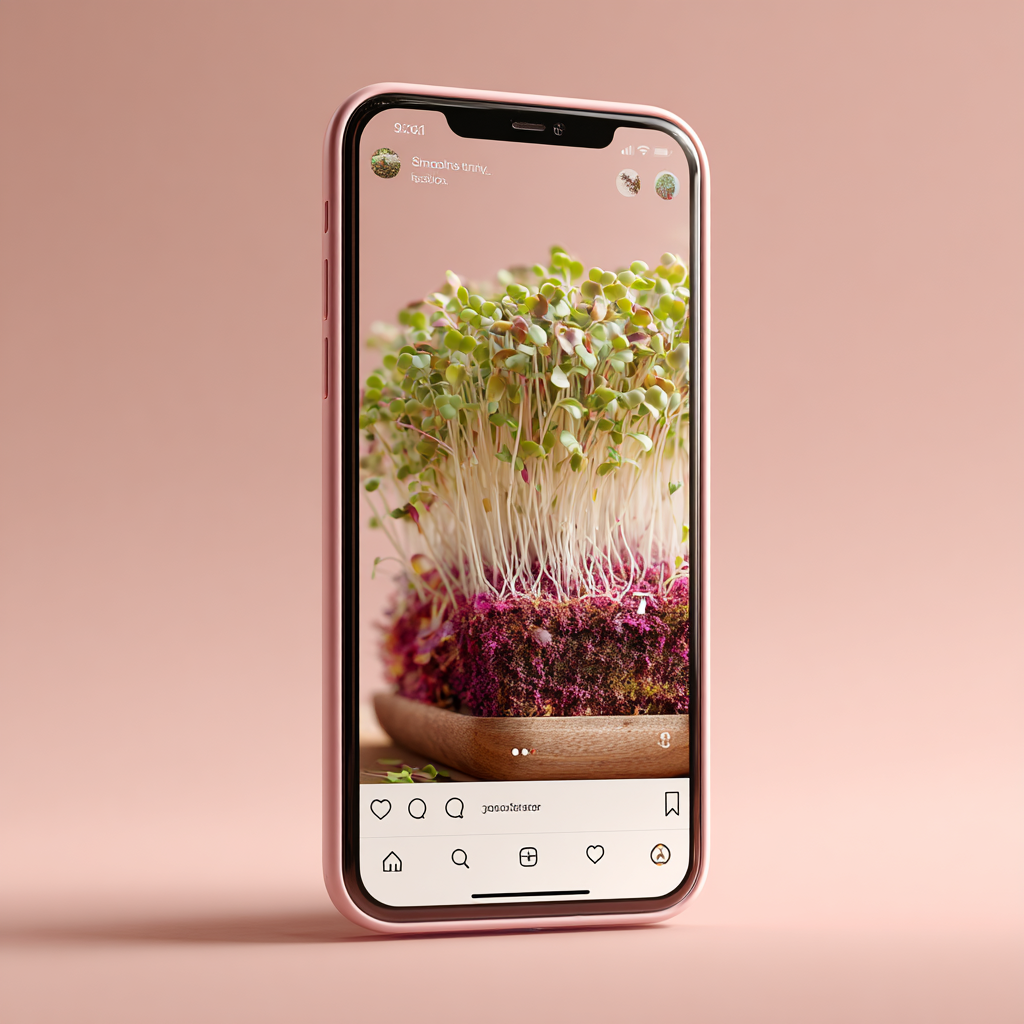
Share your success on social media
Microgreens are a premium product. Never compete on price. You're not selling lettuce. You're selling nutrition, freshness, flavor, and local food harvested this morning.
General retail price ranges: Most varieties sell for $2.50-$5.00 per ounce at retail. A standard 2-ounce clamshell at a farmers market typically sells for $4-$8. A 4-ounce family size runs $8-$14.
Price differently for different channels: Direct-to-consumer is your highest-margin channel. Restaurants pay less per ounce but buy in higher, more consistent volumes. Wholesale is the lowest margin.
Professional packaging separates the serious grower from the hobbyist. Clear, vented clamshells in standard sizes (2 oz, 4 oz, 8 oz) with a clean printed label that includes your farm name, variety, weight, and "Keep Refrigerated."
A paper towel in the bottom of each clamshell absorbs condensation and extends shelf life. This takes 3 seconds and makes a real difference.
Glappy manages your operation
There's a moment in every microgreen journey where the hobby becomes a business. Maybe it's when your farmers market sales hit $500 in a single morning. Maybe it's when a restaurant asks for a weekly standing order.
One tray is an experiment. You can keep the details in your head.
Ten trays is manageable with sticky notes and a calendar.
Fifty trays is chaos without a system. You've got trays planted on different days, different varieties with different grow times, and clients expecting specific quantities on specific days.
A hundred trays is a real operation. You need to know your costs per variety, your yield per tray, your harvest schedule, who ordered what, and which trays need water.
Growing microgreens at scale generates more data points than a human brain can reliably track. Planting dates, harvest dates, varieties, client orders, delivery schedules, costs, revenue, environmental conditions.
The growers who scale successfully build systems early -- before they need them.
Every grower hits problems. The difference between the ones who push through and the ones who quit is knowing that problems are normal, diagnosable, and fixable.
White fuzzy mold is the most common type. It looks like cotton candy or spider webs creeping along the soil surface and between stems. It thrives in wet, still, warm conditions.
What causes it: Overwatering. Poor airflow. Planting too densely. High humidity without ventilation.
What to do about it:
If less than a quarter of the tray is affected, you can save it. Spray the affected area with dilute hydrogen peroxide (10-15 ml of 3% food-grade H2O2 per liter of water). Add a fan for airflow. Stop watering until the surface dries out.
The app monitors 24/7
If more than a quarter is affected, toss it and start fresh. Sanitize the tray before reusing.
Prevention is everything: A small fan on low, bottom watering after germination, and following the right seed density prevents more mold than any treatment.
Other types: Gray cobweb mold spreads fast. Pink mold means discard immediately. Black mold is a health hazard.
Those tiny dark flies hovering around your trays? Fungus gnats. The adults are annoying but harmless. Their larvae, however, can devastate young seedlings by feeding on fine roots.
Two things that solve 90% of fungus gnat problems:
For serious infestations, BTI (Bacillus thuringiensis israelensis), sold as "Mosquito Bits", is a naturally occurring bacteria that kills gnat larvae. Completely harmless to your plants and to you.
Summer: Heat and humidity are the enemies. Mold risk spikes, growth accelerates past your harvest window. Prioritize cooling, airflow, and reduced seed density.
Winter: Cold and dry air slow everything down. Germination takes longer. Seedling heat mats and extended light hours help compensate.
Adjust what you grow to match the season. Brassicas handle winter beautifully. Basil and amaranth want warmth.
We've watched beginners spend hundreds on equipment they don't need while skipping the $15 purchase that would make a difference. Here's what matters.
A digital thermometer, a hygrometer, a watering schedule app, a spreadsheet for costs, and a notebook for grow logs. That's five separate tools most growers piece together and eventually abandon. GLAP replaces all of them from your phone.
Environmental monitoring, tray tracking, watering reminders, growing guides, AI diagnostics, cost tracking, client management, harvest forecasting. One app. The free tier gets you started.
Everything you need, right in your pocket
If you read this far, you now know more about microgreens than 90% of people who try them. You know why the business model works, how to grow your first tray, the mistakes that kill most beginners, the varieties that actually sell, and how to put greens into the hands of paying customers.
That's worth something. We've watched people build real income from exactly this foundation.
But knowing and doing are different things. The gap between "I know how to grow microgreens" and "I consistently produce, sell, and scale microgreens" is a systems gap.
GLAP bridges that gap. We built it because we lived in that gap for years.
Your microgreen journey starts now
Your next move:
Download GLAP, free tier available.
iOS App Store | Google Play | Web App
Start your free trial. Your first tray is on us, figuratively. We can't mail you soil. Yet.
Print this page. Tape it to your shelf. Refer to it until you don't need to anymore.
| Day | What to Do |
|---|---|
| 0 | Fill tray, moisten medium, sprinkle seeds (don't bury), mist, cover with weighted tray |
| 1-3 | Blackout. Mist once daily if dry. Check for germination at day 2. |
| 3-4 | Shoots 1.5-2 inches tall. Remove cover. Move under light. Switch to bottom watering. |
| 4-8 | Light phase (12-16 hrs/day). Bottom water once daily. Keep foliage dry. |
| 6-10 | Harvest when cotyledons are open and stems are 2-3 inches tall. Cut above soil line. |
Germination (Days 0-3): Top mist, 1-2 times daily.
After uncovering (Days 3+): Bottom water ONLY. Use the lift test. If the tray feels light, water it. If it's still heavy, leave it alone.
Before harvest: Stop watering 8-12 hours before cutting.

Fresh product sells itself
Your microgreen journey awaits...
Keep this reference handy as you grow.
The GLAP app includes a built-in Cheat Sheet with quick-reference cards for 50+ varieties. Here's a taste:
| Variety | Soak? | Blackout | Light | Harvest | Flavor | Diff. |
|---|---|---|---|---|---|---|
| Radish | No | 3-4d | 3-5d | Day 6-10 | Peppery | Easy |
| Sunflower | Yes (8-12h) | 3-4d | 5-8d | Day 8-14 | Nutty | Easy-Med |
| Pea Shoots | Yes (8-12h) | 3-4d | 5-8d | Day 8-14 | Sweet | Easy |
| Broccoli | No | 3-4d | 4-6d | Day 7-12 | Mild | Easy |
| Wheatgrass | Yes (8-12h) | 2-3d | 4-6d | Day 6-10 | Grassy | Easy |
| Basil | No (mucil.) | 4-5d | 8-14d | Day 12-21 | Aromatic | Hard |
| Cilantro | Yes (4-8h) | 5-7d | 10-16d | Day 15-25 | Citrusy | Hard |
| Kale | No | 3-4d | 4-6d | Day 8-12 | Nutty | Easy |
| Amaranth | No | 3-4d | 5-8d | Day 9-14 | Earthy | Medium |
| Beet | Yes (6-8h) | 4-5d | 5-8d | Day 10-15 | Earthy | Medium |
The full Cheat Sheet in GLAP goes even deeper with seed density per tray, expected yield, optimal temperature ranges, and variety-specific tips.

Built by growers, for growers.
Nearly a decade of microgreen growing knowledge, packed into one app.
GLAP gives you everything you need to grow, sell, and scale your microgreen operation.
Download free:
iOS App Store | Google Play | Web App
Copyright 2026 Grown Like A Pro. All rights reserved.
This guide may be shared freely in its complete form.
Contact: WeListen@GrownLikeAPRO.com